As an Amazon Associate, TrueNorth Tech X earns from qualifying purchases. Read our affiliate disclosure.
The Steam Deck fills up fast. Luckily, Valve built a microSD card slot into the bottom edge, so adding more space is as easy as popping in a card. This guide shows you how to format the card, make it your default install location, and move games you’ve already installed. No tools or tinkering needed.
What card does a Steam Deck need?
According to Valve’s Steam Deck tech specs, the slot is UHS-I and supports SD, SDHC and SDXC cards. In practice that means a microSDXC card for any decent amount of space.
Because the slot is UHS-I, very high headline speeds (some cards quote 190MB/s or more using special readers) won’t be fully used in the Deck. A good-quality card from a known brand matters more than the top speed figure. Bigger, more demanding games will usually load a bit faster from the internal SSD, so keep your favourites there.
What you’ll need
- A Steam Deck (any model)
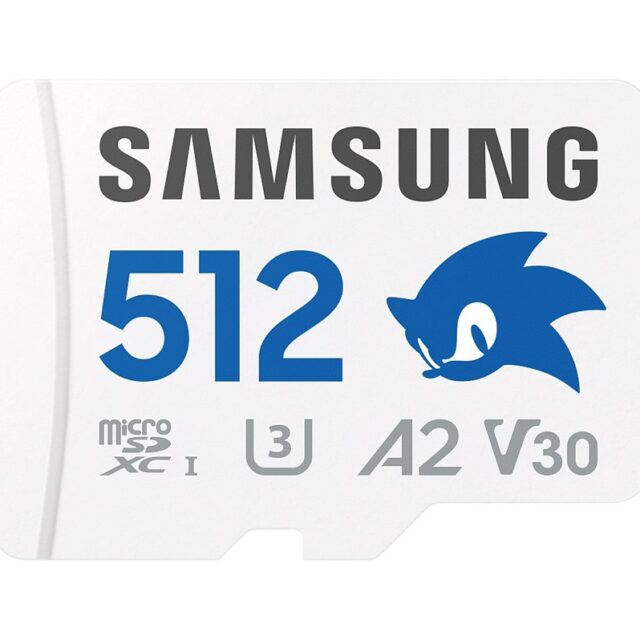
- A microSD card from a known brand. 512GB or 1TB is a sensible size for most libraries.
- Nothing on the card you want to keep, as the Deck wipes it when it formats
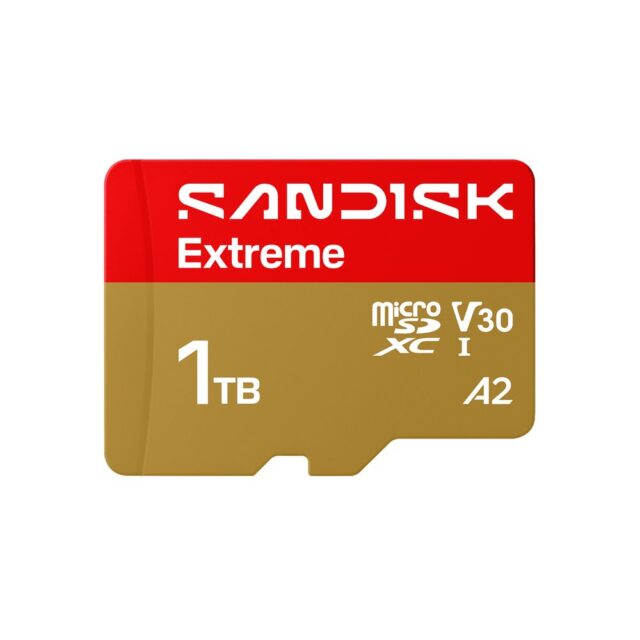
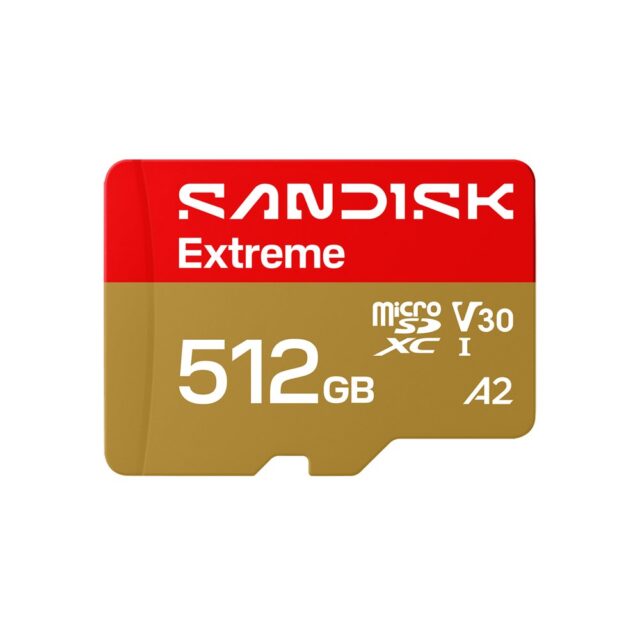
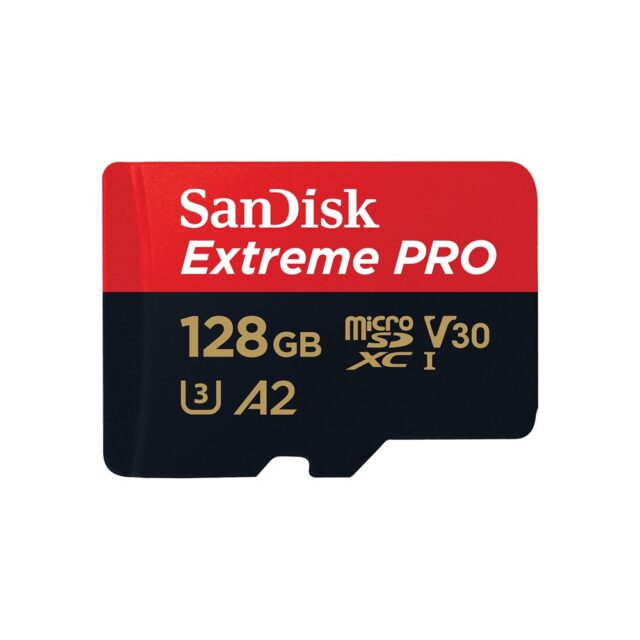
SanDisk Extreme PRO 128GB microSD Card + Adapter (up to 250MB/s)
A smaller card if you just need a bit more room.
Step 1: insert and format the card
- With the Deck switched on, push the card into the slot on the bottom edge, label side facing up (the same way as the screen). It clicks into place.
- Press the STEAM button and go to Settings > System.
- Find Format SD card and select it.
- Confirm. The Deck checks the card and then formats it. This can take a few minutes on a big card, so leave it to finish.
Valve’s FAQ explains that the Deck formats cards as ext4, a Linux format. That’s normal, but it means a Windows PC won’t read the card without extra software.
Step 2: make the card your default install location (optional)
- Go to STEAM > Settings > Storage.
- You’ll see your internal drive and the microSD card listed.
- Highlight the microSD card and choose Make default. New games will now install there.
Even if you don’t set a default, Steam lets you choose where to install each new game.
Step 3: move games you’ve already installed
- Go to STEAM > Settings > Storage and select the internal drive.
- Tick the games you want to move.
- Choose Move, pick the microSD card, and wait for the transfer to finish.
Tip: move smaller and older games to the card, and keep your biggest, newest games on the internal drive for the quickest loading.
Quick FAQ
Can I swap between several cards?
Yes. Games on each card show up in your library when that card is in, so you can keep separate cards for different collections.
The Deck says the card failed its test. What do I do?
Take the card out, put it back in firmly and try again, or restart the Deck. If it keeps failing, the card may be faulty or fake, so try a different card from a trusted seller.
Will my saves be lost if I take the card out?
Steam Cloud saves are stored online for games that support it, so they’re kept regardless. Just don’t remove the card while a game is running or a transfer is in progress.
Want a pad for desk gaming too? See our guide on connecting an Xbox controller to a PC, or browse our gaming gifts under £50.